Animal Transfers
ILROnline users have the convenience of transferring animals to customers in real time.
To transfer an animal go to Actions | Animal Transfers

Once the Animal Transfer option is clicked the Animal Transfer screen will open.

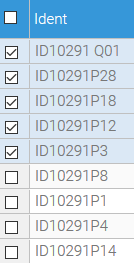
- Select one or multiple animals to transfer from the "Animals" tab.

- Select which animals you want to transfer by clicking in the box to the left of the animal's registration number. If you wish to transfer multiple animals at once, make sure there is a check mark next to all the animals you wish to transfer. Multiple animals can only be transferred all at once if they are going to the same buyer or syndicate.

Note: Remember if you have a lot of animals to sort through, you can use the Search function to help narrow down your list.

- If you have any females selected be sure to select if they are Serviced or Open.
Note: If selecting multiple Serviced females, they will receive the same serviced details so choose groups of females appropriately. You will have opportunity to remove animals from the transfer, or correct individual service details before completing the transfer.

- Enter a Transfer Date in the Transfer Date field.
- If presented with the 'Certificate to Buyer' option and you want the new registration paper to be sent to the buyer, leave the check mark in the box next to "Certificate to Buyer". If you want the new registration paper to be sent back to the seller, then un-check the "Certificate to Buyer" box.
- Once you have all the animals marked, a transfer date entered, and the bred or open option selected if there are any females, click the "Select Animals" button.
Entering Service Details
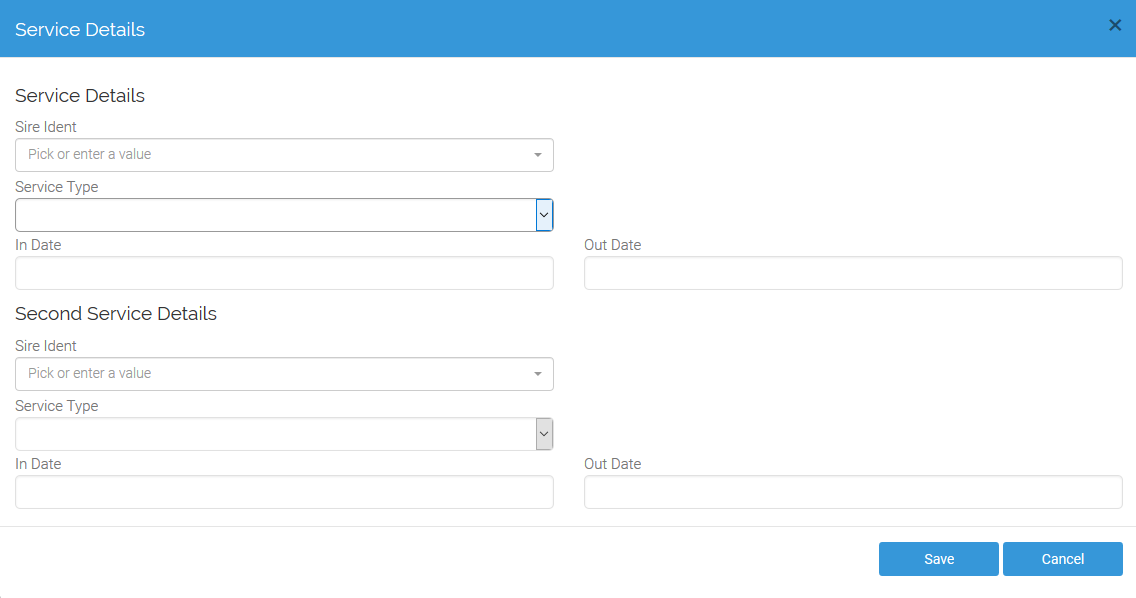
- If you selected Serviced in the drop down menu for any females, than once you click "Select Animals" the Service Details box will open.

- Enter the sire's registration number or select a sire from the drop down if it's one you have used previously. Next enter a service type, and enter the dates of service. You can enter two different service details. Once you are happy with the animals and service information you have entered, you can move on to selecting the buyer.
- If you have multiple females on your list, you can change the specific service details information on any of them buy clicking on the Serviced link. This will open up the service details box again and you can make any changes needed. Be sure to click the "Save" button to save any changes made in the service details box.
- If you selected an incorrect animal you can remove it from the list by click in the box next to the animal's registration number and clicking "Remove Animals." This will remove the animal from the selected animals list.
Select a buyer
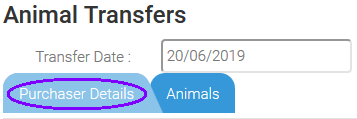
Select a buyer by clicking on the "Purchaser Details" tab.

- Personal List
- This is your previous buyers and sellers from the last three years.
- Select a buyer from your personal list by clicking the drop-down arrow and selecting the breeder from the list. Then click the "Select" button.
- Member Search
- Search the system using contact information for the buyer.
- Enter the known member information and click "Find". Once the buyer is found, click on the member so their information is highlighted in blue and then click "Select Highlighted".

- Creating a New Non-Member Account (if enabled)
- Add a new non-member to the system if you have searched using the known information and can not find the purchaser in the system.
- To add a new non-member click the "Add New" button under the Buyers Details screen.
- Enter the required information and click "Create or Find".

- The system will do a quick search to check for duplicated information. If the system finds duplicate information, review the member and if you choose to use that account, select it and click "Select Highlighted".
- If you feel the duplicate account that is shown is not correct, click "Create New (Not in list)".
- Maintaining partial ownership
- To maintain partial ownership on the animal or animals, be sure to click the "Add Self As Part Owner" button on the Buyer Details screen

- Or select the appropriate linked account from the Personal List drop down menu.
- Note: Once you have the buyer or buyers selected you will see them listed next to the Transfer Date box. If you are transferring to multiple breeders it will list only their membership number and not the name of the membership.

- Removing a buyer
- To remove a buyer from the selected list, simply click the red X located to the right of the buyer's information

Once you finished entering all the transfer details, click "Complete Transfer" to finish the process.

Created with the Personal Edition of HelpNDoc: Free Kindle producer